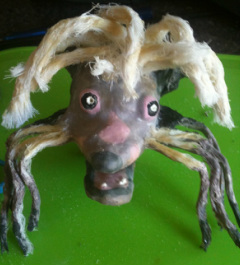
| I thought it would be nice to add 'hair' over the top of the latex where a Chinese Crested would have hair. I had some scrap bit of fabric made up of interlocking threads which when rolled into strips looked like strands of hair. I dipped these strands into yet more latex and applied them onto Jess' skin. On her beard I coloured the latex so that she would have varying shades of fur.
| |
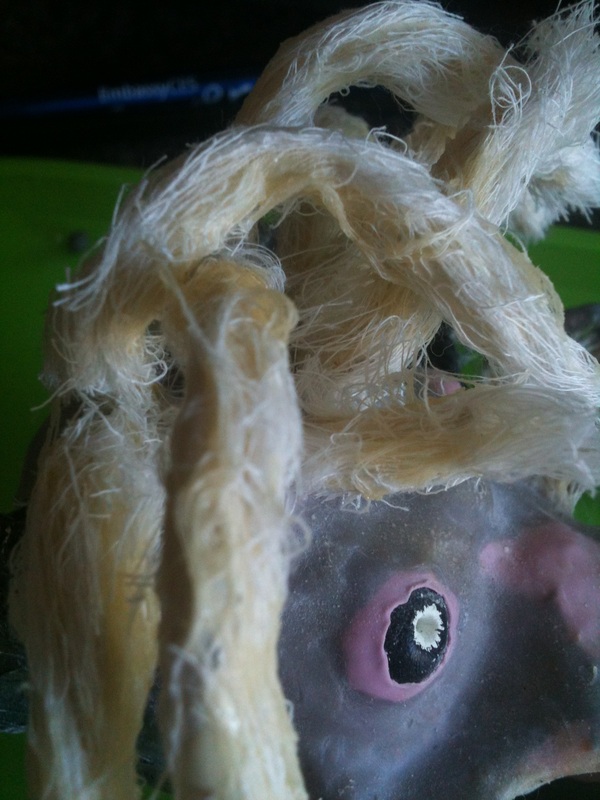
| Close up of Jess' head hair
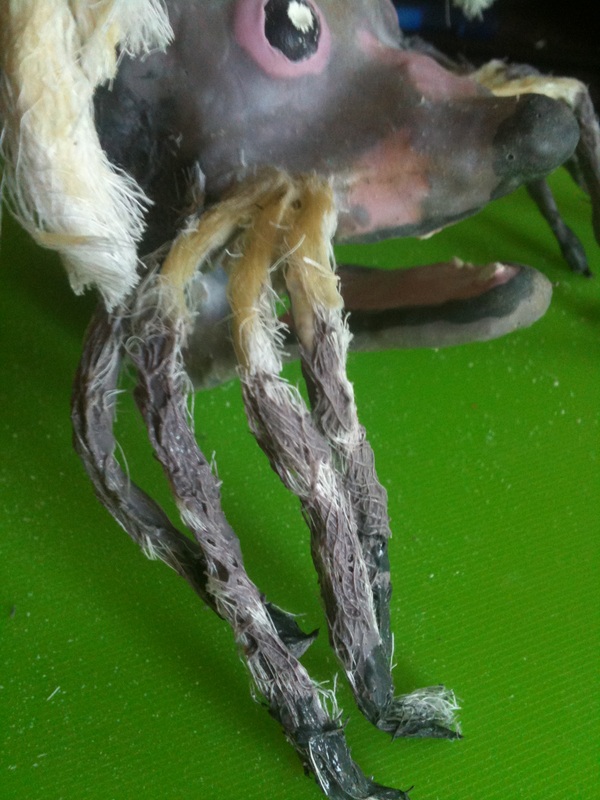
| Close up of Jess' beard hair
|
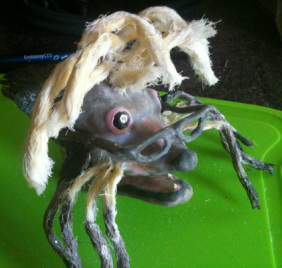
I also made her a little pair of glasses from wire, foam and latex.
Such a sophisticated pooch!
Now for her body....
She's looking a lot better with some colour in her cheeks!
I mixed each colour in acrylic paint with latex before painting it onto her head which ensures thats her joints aren't made stiff by just painting acrylic onto her. This took me a while to do as I was working with a number of different colours I had to make sure each colour had dried before starting with the next so I didn't ruin the finish of the latex.
I experimented with a final coat of latex mixed with talcum powder. Talcum powder on its own rubbed into dry latex will give it a matte effect as dried latex is extremely shiney. This works well but once you start animating with the puppet the powder often rubs off easily with handelling, hence why I wanted to try mixing the talcum powder with the latex to leave to set. It worked to an extent by taking some of the shine out of the finish but did leave yellowed clumps where the powder hadn't seperate in the mix. Worth the try but not totally succesful!
| | Once the layer of foam and latex had dried on the armature I was able to set Jess' eyes into her head. I made her eyes out of milliput, which have two small holes that I am able to fit a toothpick into so I can move them whilst animating. These were then painted black to look like little doggy eyes. I had already created a 'socket' for them to sit in when shaping the lightweight sculpey core.
|
I coloured some latex a light pink skin colour which I then applied around the eyeball in its socket, I also painted the inside of her mouth while I was at it and once her eyes are set I can get going with a different colour!
I first applied a layer of foam and latex directly onto the skull, covering everything other than the K and S hole where her body will be attached. For the hair surrounding her mouth I sandwiched the bits of wire between two pieces of foam covered latex which I also secured to her face.
Once this was dried I was able to cut around the excess bits of foam to reveal the strands of 'hair' and also cut away the bits of foam in the mouth that had been covering her little teeth.
I then started work on the strands of wire coming out of her head. As these were all higgledypiggledy unlike the straight line of wire in the sides of her face I decided to wrap each strand with a seperate bit of foam at a time.
I'm just waiting for these bits to dry before I can start to colour her...
I've made a timelapse video! I'm really more excited by this than I probably should be...
I wanted to make a third head, this time in latex again but instead of using milliput to build detail on the 'skull' I wanted to try using foam to see how this differed. Annoyingly I forgot to take pictures of this, but below is what the skull looked like after being covered in a layer of foam dipped in latex. The nose, ears, chin and eyebrows have a layer of approriately shaped foam to create detail. However as you can see where the foam and latex layer has been added, a lot of detail has been lost and looks bulky and clumsy.
I repeated what I had done with the first head, adding a layer of latex that contains hardener. The coloured paint that I added to this, I made sure was darker than the skin tone that I wanted in the final outcome; I found this added a layer of depth once the next layer of latex was added.
The eyeballs are made out of milliput which I sat in the sockets before painting the final latex layer as I could build eyelids around them to hold them in place and give a more realistic look.
The finishing touches were the same as the first puppet: adding talcum powder to matte the skin and hair where appropriate.
I started off adding a layer a latex that I had added hardener to. Having researched what a lot of other people use when making heads such as these, I found a lot of them had used Copydex which is essentially a slightly harder latex, hence why I started using this. I did find that it was very hard to work with and gave an uneven textured surface which did not look right. It also dries a lot quicker than standard latex so I had to work VERY quickly, so the process was more rushed than I would have liked it to have been. However, I did find that it was handy in being able to build up facial structure, and I was able to build on areas such as the nose and ears.
I applied a second layer of latex that didn't contain hardener which dried smooth, therefore looked a lot more like skin however this was extremely shiney.
For the finishing aesthetic touches I brushed talcum powder onto the latex which gave it a matt effect. Finally I gave him a beard and eyebrows which I attatched with Araldite and pencilled in some pupils.
This is now ready for some animation testing!
Normal Hands
As you have seen in a previous post, I have made a few sets of latex puppet hands. Here is what they look like.
Following on from my idea of the Librarian character whose veins have words running through them, I thought it would be a good idea to test some materials such as their movement abilities and their aesthetic qualities on these hands in the hope that I will find something that I can use in a future puppet.
Thread Writing
As you may have seen in a previous post, I had been stitching words into a dissolvable fabric which would allow me to have thread words which I could then combine with latex onto my puppets hands to create the look of words in the skin.
The end result not surprisingly wasn't very good. The thread had started to unravell so the letters were unledgable and it was very raised up from the skin which didn't look right. When the joints were moved parts of thread became loose whereas others restricted the movement of the hand itself.
Hand Writing
For this hand I just used a pemanent marker to write onto the skin. This obviously didn't affect the movement of the hand and was quick and easy to do but it isn't at all what I want it to look like aesthetically.
Book Pages
This is the closest any of the latex hands got to looking how I wanted them to look. However, the book pages would have to be applied to areas of skin that didn't need to move, ie. not on joints as they would rip. Also size is an issues, these hands have been made bigger for experimental purposes so an actual sized puppet hand might find difficulty in having bits of book pages applied to it.
Sculpey Transfer
I had bought some translucent liquid sculpey (bought
here) just to experiment with. One of it's qualities is that it is a good transfer medium, so I thought I would experiment in trying to transfer a book page onto a sculpey hand. I couldn't do this to a latex hand as the sculpey needed to be baked.
Aesthetically this was perfect! Just what I wanted. However this was obviously on a sculpey hand, and therefore unanimatable and unsuitable for a puppet. My plan is to make a marrionette puppet in this technique and to carry on experimenting for my stop-motion librarian.
After I had twisted the wire into shape, I added Milliput where the palm should be and let this set hard (bottom left picture below). Now I had a surface for my hand I wanted to experiment with how realistic they could be made to look. Using modelling white Milliput I created tendons and knuckles, then left this to set (bottom right picture below). Once this was dry I could sandwich the armature between two layers of fine foam dipped in latex.
I cut the excess foam away from the armature to reveal the hand shape and then started to paint a fine layer of latex straight onto the hand, completely covering the foam.
Once this had dried I experimented with adding hardened latex onto the knuckles and tendons to further define them (right picture). I then painted a final layer of latex on top of this.
Finally I covered the latex in Talcum Powder to matte it. I was pleased with the overall results, it's hard to see from these photos (I shall try to upload better ones soon) but the hands did have a realistic appeal, with the knuckles and tendons showing. Experimentation with skin colour mixed with the latex would probably be beneficial at a later stage.
I've found this really nifty little video by Nick Hilligoss which goes through the different types of puppet heads and their material properties. I had to subscribe to his YouTube channel...it's cram packed with lovely puppety wisdom!


 RSS Feed