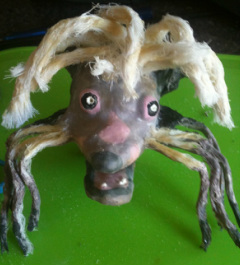
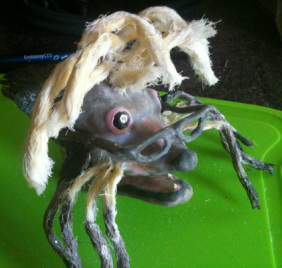
| I thought it would be nice to add 'hair' over the top of the latex where a Chinese Crested would have hair. I had some scrap bit of fabric made up of interlocking threads which when rolled into strips looked like strands of hair. I dipped these strands into yet more latex and applied them onto Jess' skin. On her beard I coloured the latex so that she would have varying shades of fur.
| |
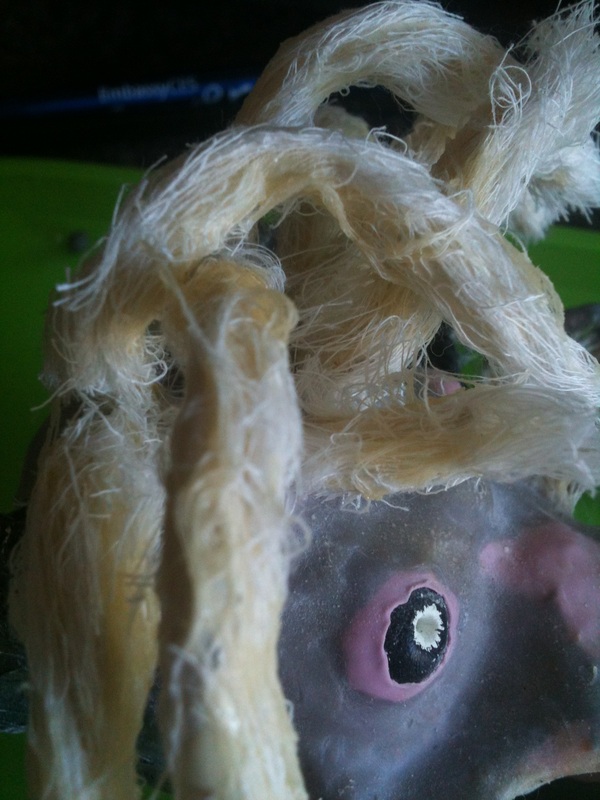
| Close up of Jess' head hair
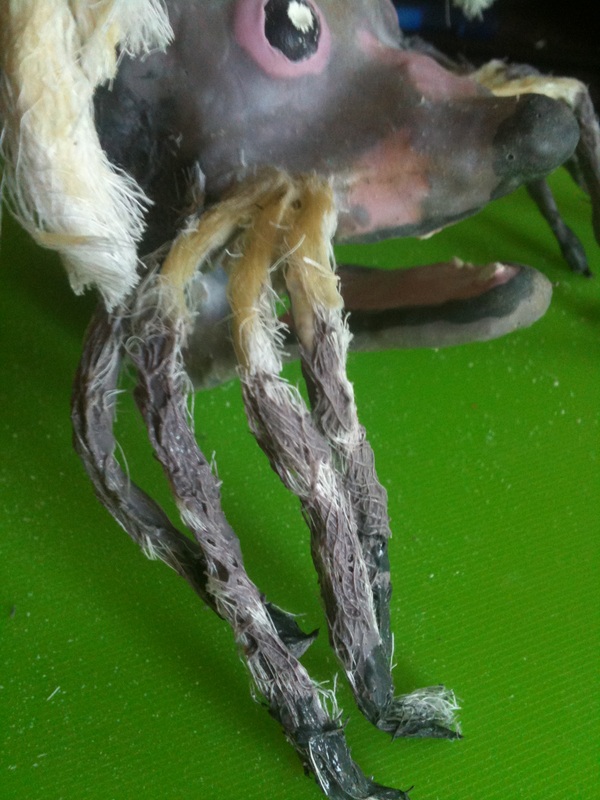
| Close up of Jess' beard hair
|
I also made her a little pair of glasses from wire, foam and latex.
Such a sophisticated pooch!
Now for her body....
| | Once the layer of foam and latex had dried on the armature I was able to set Jess' eyes into her head. I made her eyes out of milliput, which have two small holes that I am able to fit a toothpick into so I can move them whilst animating. These were then painted black to look like little doggy eyes. I had already created a 'socket' for them to sit in when shaping the lightweight sculpey core.
|
I coloured some latex a light pink skin colour which I then applied around the eyeball in its socket, I also painted the inside of her mouth while I was at it and once her eyes are set I can get going with a different colour!
I first applied a layer of foam and latex directly onto the skull, covering everything other than the K and S hole where her body will be attached. For the hair surrounding her mouth I sandwiched the bits of wire between two pieces of foam covered latex which I also secured to her face.
Once this was dried I was able to cut around the excess bits of foam to reveal the strands of 'hair' and also cut away the bits of foam in the mouth that had been covering her little teeth.
I then started work on the strands of wire coming out of her head. As these were all higgledypiggledy unlike the straight line of wire in the sides of her face I decided to wrap each strand with a seperate bit of foam at a time.
I'm just waiting for these bits to dry before I can start to colour her...
| | I've started work on Jess' head armature. I decided to loosely follow the rough designs I had posted up here earlier rather than spend more time on better designs first. This was mainly because I didn't really have any idea how I would attach her hair armature, so thought the best thing to do was just start making and she how it went as I went along, trial and error. I could always restart if anything goes terribly wrong, but touch wood, so far so good!
|
The wire jaw and ears attach to the light weight sculpey 'skull'.
I then started to add some facial detail with milliput, which is how I also attached the hair wires to the cheeks...
... and to the head. Jess is currently looking like she's been struck by lightning but as soon as that milliput has dried I can start to apply her 'skin' over the armature.
She's now got her slap on and is ready to hit the town!.. Or more likely curl up on the sofa with a cup of tea if I know Jess at all!
I wanted to make a 3D version of my Jessica character in clay. I have decided that I will be making a stop-motion puppet of her so I firstly need to get my ideas off of the paper and into a 3D form.
Here's how it's going so far:
I created a wire structure that would support the clay, especially the wispy bits of hair above her eyes and around the mouth. I then started to build directly on top of this with the clay.
I started to mould shape into her face before adding hair onto the wire strands.
I've left the clay to dry before I can continue working on it...
I've made a timelapse video! I'm really more excited by this than I probably should be...
I wanted to make a third head, this time in latex again but instead of using milliput to build detail on the 'skull' I wanted to try using foam to see how this differed. Annoyingly I forgot to take pictures of this, but below is what the skull looked like after being covered in a layer of foam dipped in latex. The nose, ears, chin and eyebrows have a layer of approriately shaped foam to create detail. However as you can see where the foam and latex layer has been added, a lot of detail has been lost and looks bulky and clumsy.
I repeated what I had done with the first head, adding a layer of latex that contains hardener. The coloured paint that I added to this, I made sure was darker than the skin tone that I wanted in the final outcome; I found this added a layer of depth once the next layer of latex was added.
The eyeballs are made out of milliput which I sat in the sockets before painting the final latex layer as I could build eyelids around them to hold them in place and give a more realistic look.
The finishing touches were the same as the first puppet: adding talcum powder to matte the skin and hair where appropriate.
I decided to make a second animatable head but this time I wanted to try using different materials to do so: this one would be fabricated in Sculpey rather than creating a latex layer.
I created a head armature as I had done so previously using wire, polymorph and milliput, however this time I gave the head two seperate wire pieces to create the brow as it wouldn't be possible to cover a single wire in Sculpey and be expected to move.
I added a layer of sculpey over the armature and baked it so that it became hard. This was a lot easier to model into the shape that I wanted it to be because I could use modelling tools and because it wasn't drying as I worked. I had to leave parts of the wire exposed such as around the base of the eyebrows and around the jaw so that it would still be able to move. The Sculpey gave a less realistic and more cartoony look. The milliput eyeballs can move in the sockets but had nothing to secure them in place other than the cureved shape of the socket behind them, therefore when animating I will probably use vaseline to make sure they don't fall out.
I added hair as the finishing touches. This also aided in hiding the wire exposed on the jaw and around the brows.
That's the second head ready for animating!


 RSS Feed